
I received a new to me 1983 R80RT and after driving it approx 100 miles I stopped for gas and tried to start it and it made strange metal on metal noise. I suspected the starter got chewed up but when I took everything apart the starter is fine and the flywheel is spinning loose inside the clutch housing. I am new to Airheads and have little experience wrenching but I"m enthusiastic and determined to fix this myself. A few questions I had are:
Should I buy all new clutch parts? Included in the records I received from the previous owner it says that at mileage 85897 in October 2010 the transmission output shaft was replaced and the clutch was inspected and said to have minimal wear. The bike now has 96k miles 9 years later. I have ordered a new flywheel but wasn't sure if I'd need all new clutch parts.
I have been reading and re-reading everything snowbum has ever written about clutches and flywheels. I have ordered the necessary tools from Northwoods Airheads and I was going to try to keep an active log of my first (and fairly extensive) foray into airhead wrenching. Thanks to everyone who has supplied knowledge and advice here. I'm thrilled to be a member of the club.
Thanks.
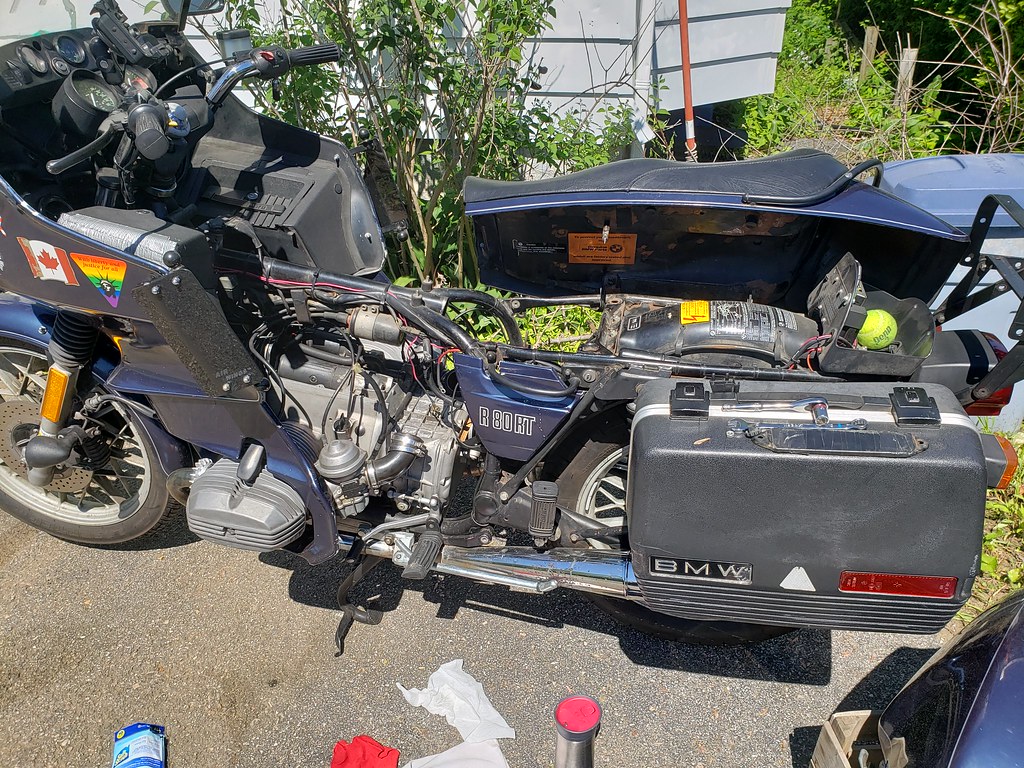
The morning I picked the bike up.
 20190527_095130
Getting into it to take the starter off.
 20190609_104818
Flywheel spins freely and is not connected to anything.
 20190609_110223

Ordering parts before the bike is disassembled is a good way to end up short on funds.
As a matter of routine, whenever there are clutch area repairs, the flywheel is removed to check the condition of the "oil pump o-ring". This is a small seal on the rear of the engine, which can only be accessed when the flywheel is removed. In doing this, the shop may have inadvertently left the flywheel bolts loose, under-torqued, without LocTite, or some other similar oversight. So in all probability the flywheel bolts may have simply worked their way out.
But it could be several things and only disassembly will tell. Follow the workshop instructions to remove the gearbox and take a look.
Very sorry this is your introduction to Airheads, but this is a good reminder that most BMW mechanics today have never worked on an Airhead and taking these old bikes to the shop is not always the best answer. YOU are now this bike's best hope.
Owning an old Airhead is easy.
Keeping an old Airhead running great is the true test.
This is important!
When you get to the place where you want to remove the flywheel, you must block the crank from moving forward.
former Airmarshal, IL.
I am aware of the need to secure the drive shaft when taking the flywheel off. Thank you for the heads up. Just getting into trying to get everything apart and very quickly noticed that there isn't anything connected to the speedometer ground bolt on the transmission. Why wouldn't that be there and where could it be? Should I replace that speedometer cable boot? More posts surely to come as I start taking things apart.
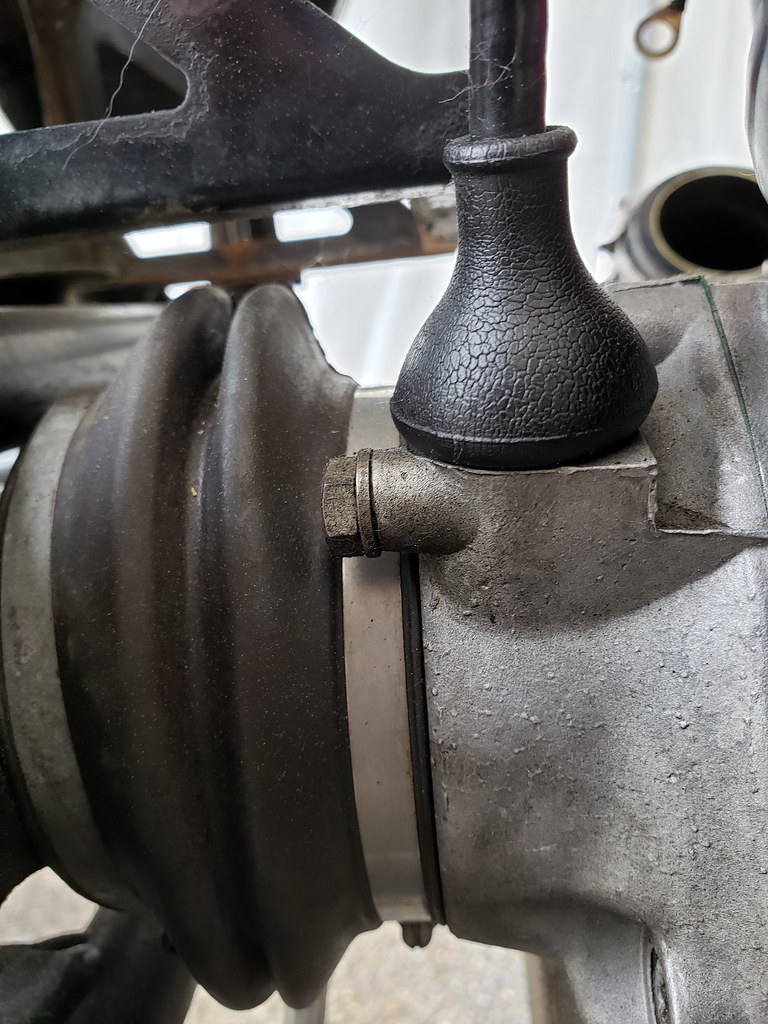
You will definitely want to replace that speedo cable boot. It is not unusual for an owner to re-locate the ground from the speedo retaining bolt to another place. I use the little hole on the underside of the frame backbone where the tool tray rests.
former Airmarshal, IL.
What the heck is this? I found it on the front left side inside the fairing. It is not connected to anything. Steering Damper? I dunno. You can see it in the center of the second photo where I zoomed out to give perspective


That's the pivoting socket from the stationary end of the hydraulic steering dampener. The other end should be under the triple tree, almost in-line with the head post bearings. You'll want to replace the dampener when you get further along and know the engine runs really good.
Your battery negative cable is that braided cable that's attached to the frame nearby.
Owning an old Airhead is easy.
Keeping an old Airhead running great is the true test.
This is important! When you get to the place where you want to remove the flywheel, you must block the crank from moving forward.
If the bolts already came out, then it may be too late. 🙁
Owning an old Airhead is easy.
Keeping an old Airhead running great is the true test.
I am able to spin the teeth of the flywheel all the way around and they are not connected to anthing. It is as though the ring of teeth came off the flywheel itself. Hopefully everything else is still attached and the ring didnt damage the housing or other clutch parts. I will be getting into it tomorrow evening so I'll take pictures and report back.
I think it is possible that the ring of teeth has come loose from the clutch carrier. The heavy flywheel was replaced by the carrier around the time that the transmission casting changed from smooth sided to ridged . The best way to proceed from here would be to pull the transmission and have a look at what has happened.
former Airmarshal, IL.
I got the transmission out and the clutch off (I forgot to mark it). I braced the front of the driveshaft at the alternator so as to not let it move forward and then removed the clutch carrier.
There is some metal worn off and lots of shavings but I think it looks ok for the most part.


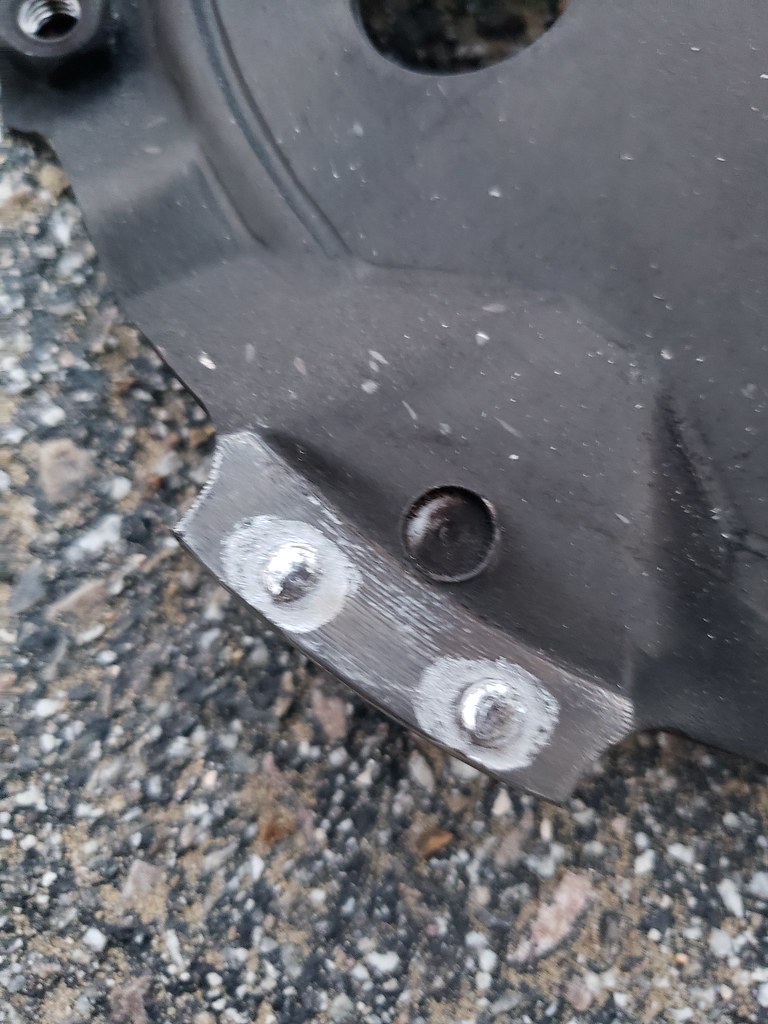
The clutch carrier was in two pieces. Two of the connection points were sheared off and the third was empty.

 [/ur]
[/ur][url= https://flic.kr/p/2girdCa ]
Is this one of the pins that held the gear ring and the clutch carrier there stuck under the oil pump cover?

How big of a deal is it that I forgot to mark the clutch so as to make sure and put it back together lined up the same as it was??? The clutch carrier was correctly rotated with OT in the window so I feel comfortable putting the new one on correctly but what about the clutch itself? I mostly just want to put it back together and ride it!! This has been a great experience. I'm learning so much and getting some good wrenching in. Thank you for all the help. I got my first copy of Airmail yesterday! Thanks
Pete
Not a big deal if you failed to mark the clutch parts for putting it back together. I put a used clutch from a parts bike in my R100/7 that I used to own. There was no way I could know the original orientation of those components, and I did not experience any ill effect.
If I were doing that repair on one of my bikes, I would proceed as follows;
1) obtain a replacement clutch carrier.
2) install the replacement carrier.
3) un-block the crank.
4) rotate the motor until the pistons are at Top Dead Center (TDC) as determined by looking thru the spark plug holes.
5) re-install the crank block.
6) re-position the carrier so that the OT mark is visible in the aperture on the motor casting.
7) torque the carrier and re-assemble the clutch.
8) Put it all back together and give it a test ride.
Be sure to grease all the moving parts of the clutch assembly when assembling, including a dot of grease on the tip of the clutch pushrod and the fingers of the spring diaphragm where they seat. Do not be surprised if you have to re-adjust the clutch throw out assembly at least once.
former Airmarshal, IL.
Well, "poop happens" !
Your damage is rather minimal and all internal. Most other brands this age have slung a rod or cracked a piston and although those bikes can be "repaired" they never really run right again. So everything considered, you're rather lucky.
Wash out the bell housings with a pressure washer, pry out that stuck rivet, and then proceed as Jim has suggested. Chief among those steps is to find TDC through the spark plug hole, and make sure the "OT" mark is visible through the strobe window before torquing the flywheel bolts into place.
The book will tell you to replace the flywheel bolts, but if you use LocTite that is not absolutely necessary. What is necessary is that you torque those bolts (either in N-M or Ft-Lbs) to the correct limit prescribed in your book. There is a torque pattern and it should be followed twice. If you need to beg, borrow or steal a torque wrench, then you must. A lot of auto parts stores will loan tools now at no charge if you buy some parts. So buy 4 qts of Valvoline VR1 20w50 motor oil, 2 qts of multi-grade gear oil, a can of spray lubricant, and a bottle of DOT4 brake fluid (because you'll need to fully change the brake fluid before riding anyway).
The next pictures we get will hopefully be you and the bike at a scenic mountain overlook !!
All the best.
Owning an old Airhead is easy.
Keeping an old Airhead running great is the true test.
What is the need to replace the brake fluid? Bike was serviced and inspected and ready to ride for the season before all this. The old clutch carrier still had the OT mark connected to it so I put the new one on the same way the old one had been on. I torqued the flywheel bolts as described by snowbum and followed the star pattern doing final torque to each bolt twice. The driveshaft bolts are fun to get back in huh?! Lost one down the swing arm but luckily got it with a magnet. I am the proud owner of two torque wrenches one in ft-lbs one in in-lbs. I know I will need them because after all I'm an airhead and we wrench our own bikes. Thanks again for all the advice.
Pete
Sorry for a picture that isn't me on a mountain pass!! Do both these wires connect to the starter??? As you all may recall I broke the rules of prudence and when I thought it was a starter problem I ordered a new starter. It wasn't a starter problem. This was the first part of the repair that started a few weeks ago and now I'm stuck as to whether or not both of these wires connect to the starter??? I'm given pause because it is a red and a black wire.

Advertisement


